How to Read a Fish Finder: A Beginner’s Guide
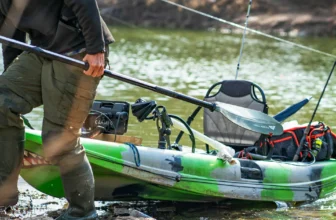
Fish finders are fantastic tools for fishing enthusiasts who want to locate fish more easily and understand what’s happening beneath the water. However, if you’re new to fish finders, interpreting the readings, symbols, and colors on the display can feel confusing. This beginner’s guide will walk you through how to read a fish finder, covering everything from basic setup to understanding sonar readings.
Whether you have a Lowrance fish finder, a Garmin, or another brand, this guide will make it easy to use and understand the technology behind fish finders. If you’re looking for the best fish finders to start your journey, check out our guide on the Top 7 Best Fish Finders for Beginners 2025. Let’s dive in!
Why Use a Fish Finder?
Fish finders use sonar technology to locate fish and provide details about the underwater environment, including water depth, structures, and even the size of fish. For anglers who want to improve their catch rate and learn more about the water beneath them, fish finders are invaluable tools.
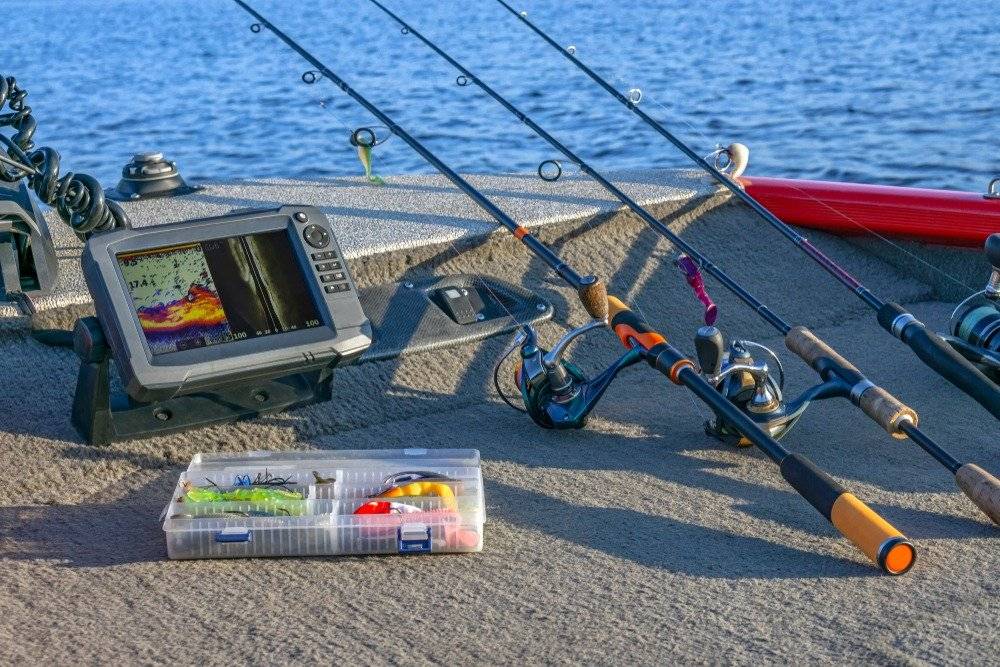
Getting Started: Fish Finder Basics for Beginners
Understanding fish finders begins with getting familiar with the display and settings. Here are a few essential components every beginner should know:

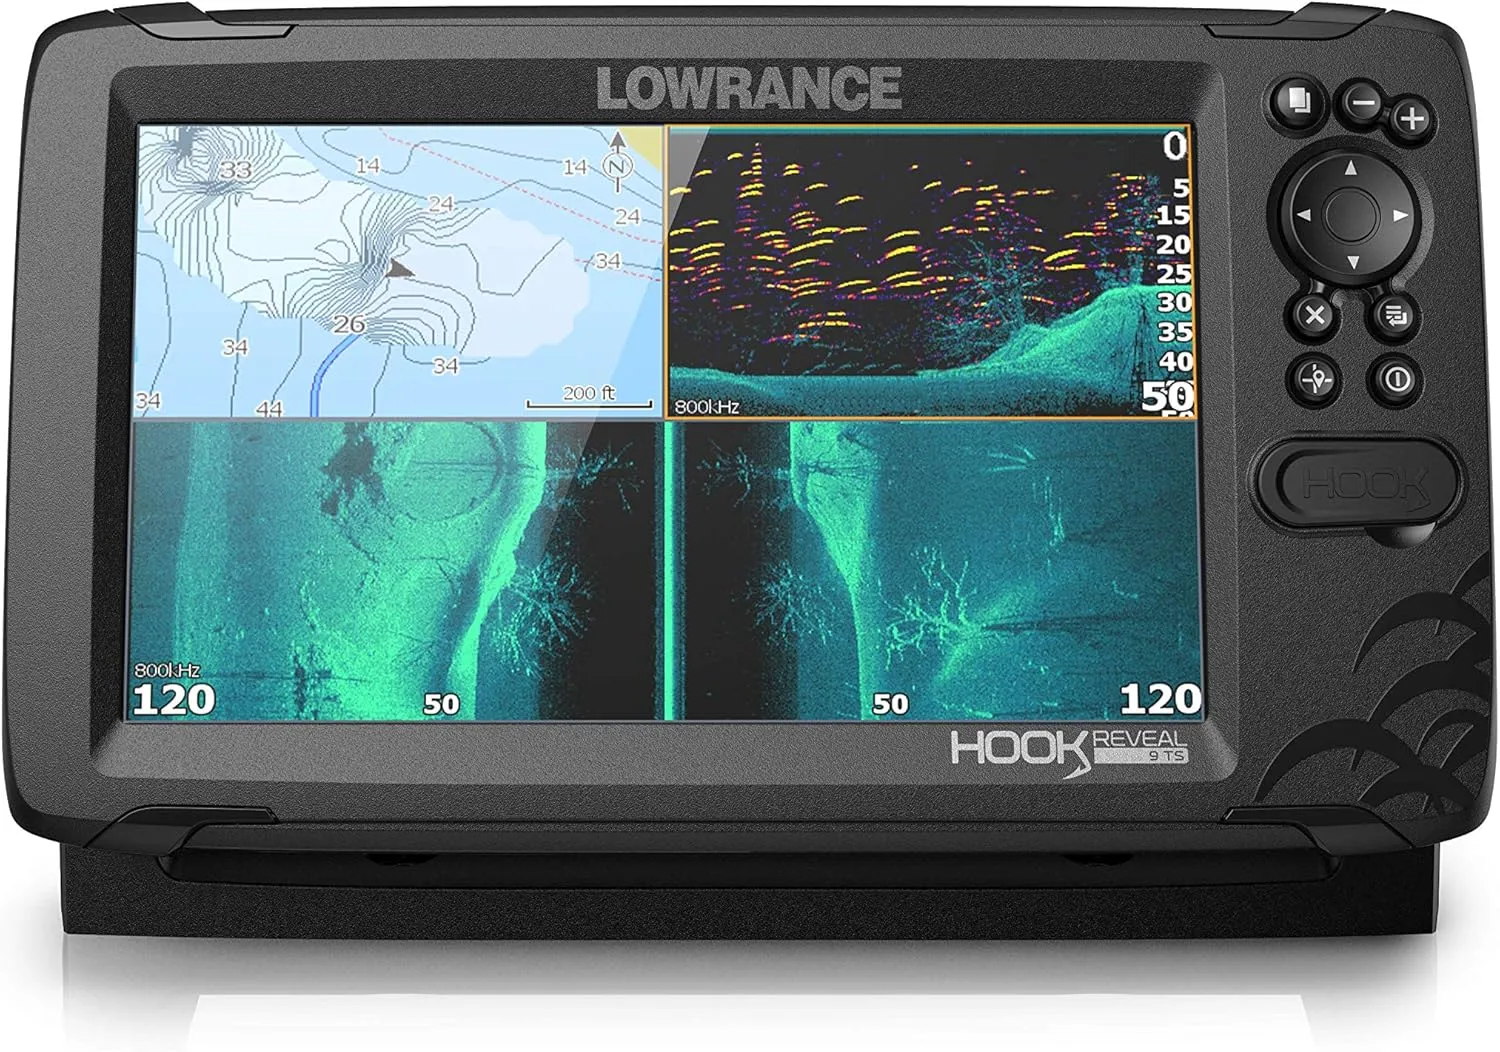
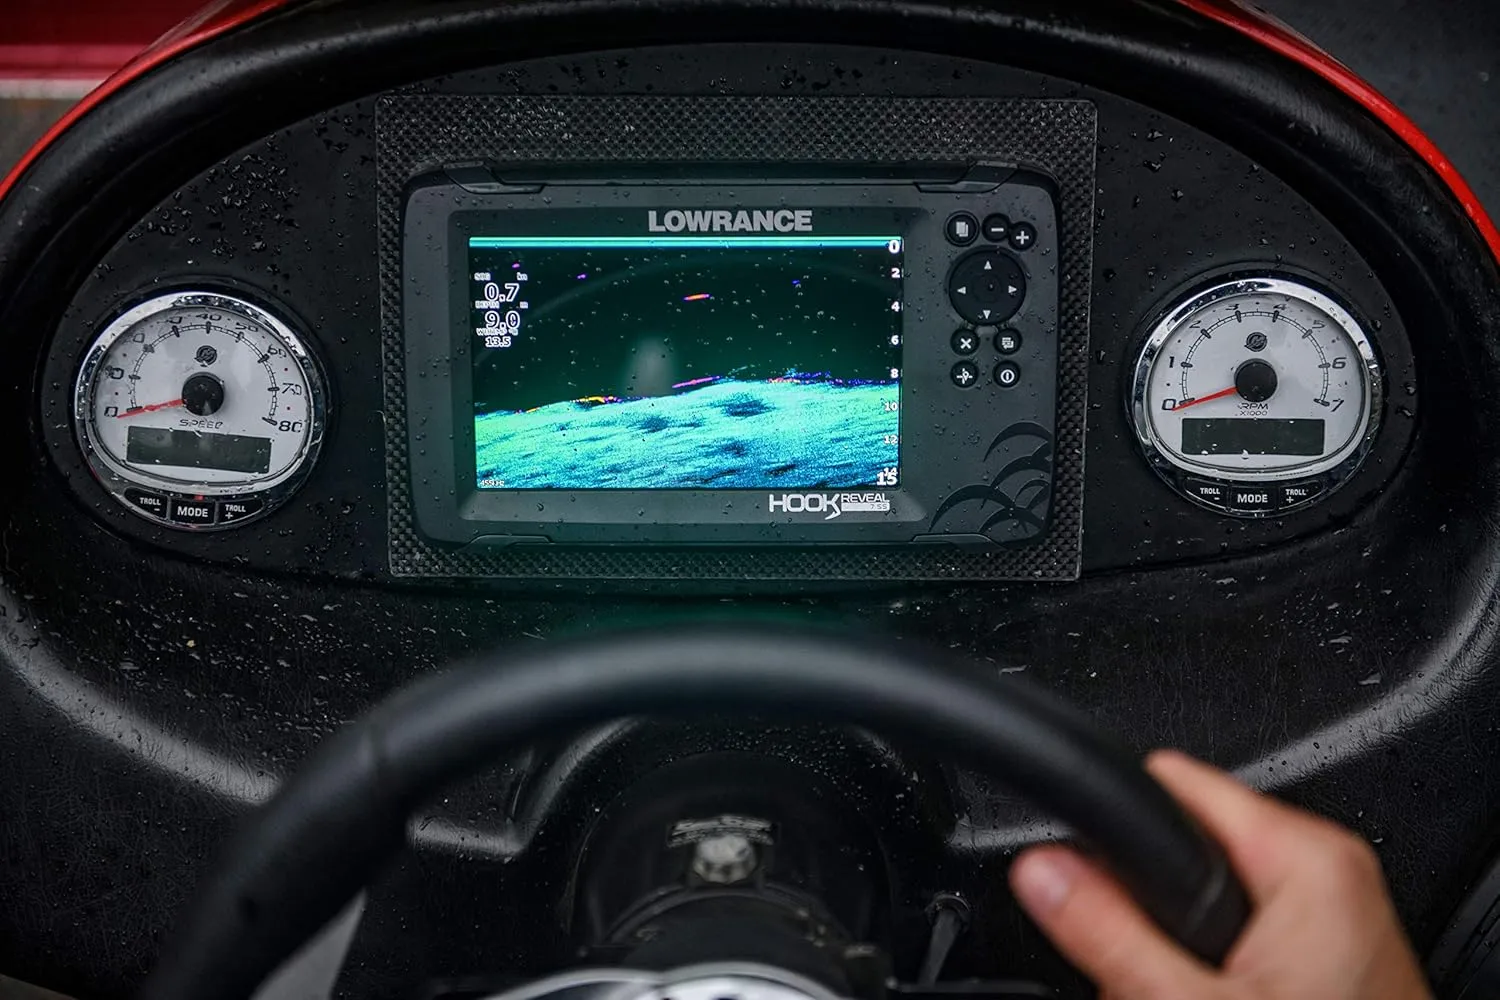
Lowrance HOOK Reveal 5″, 7″ and 9″ Fish Finders with Transducers
Interpreting Fish Finder Readings
When you first look at a fish finder screen, the various symbols, colors, and lines may seem complicated. Here’s a breakdown of what each element means:
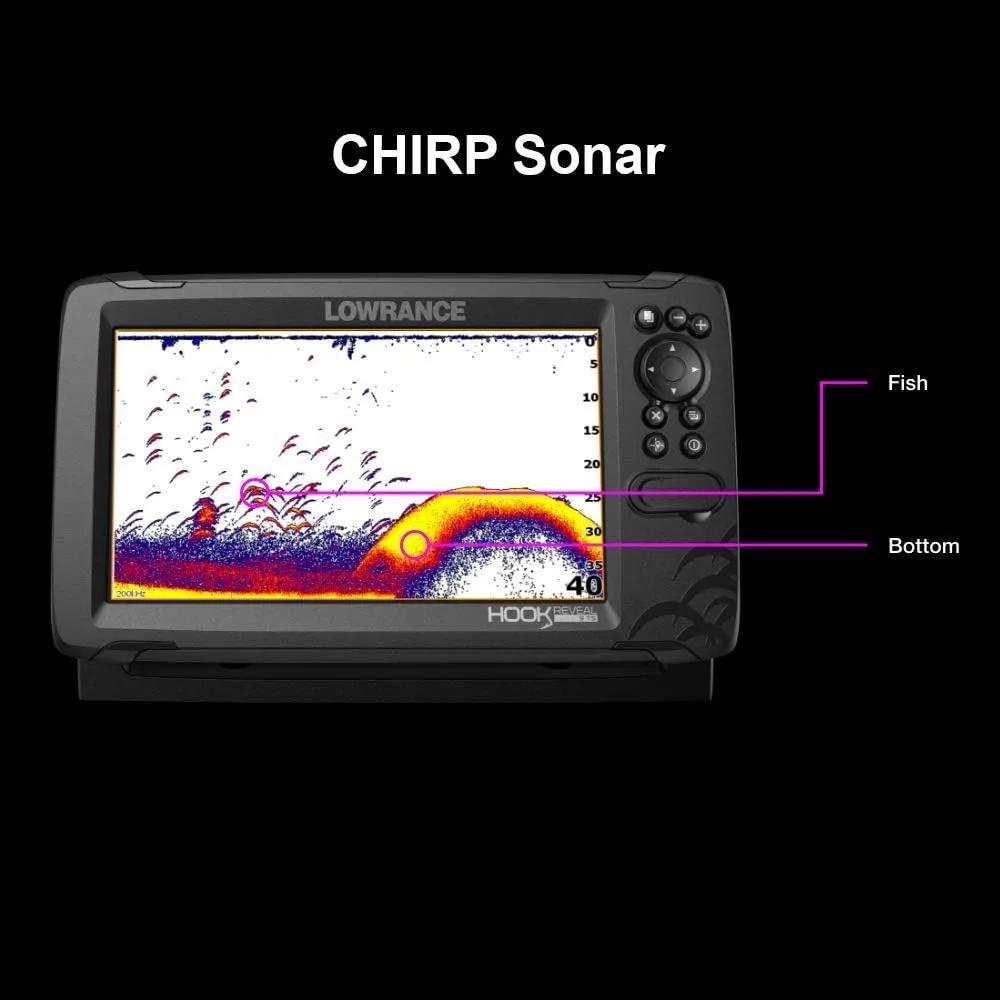
1. Understanding Fish Arches and Symbols
Fish finders display fish as arches because of how the sonar wave passes over them. Here’s how to tell fish from plants or other objects:
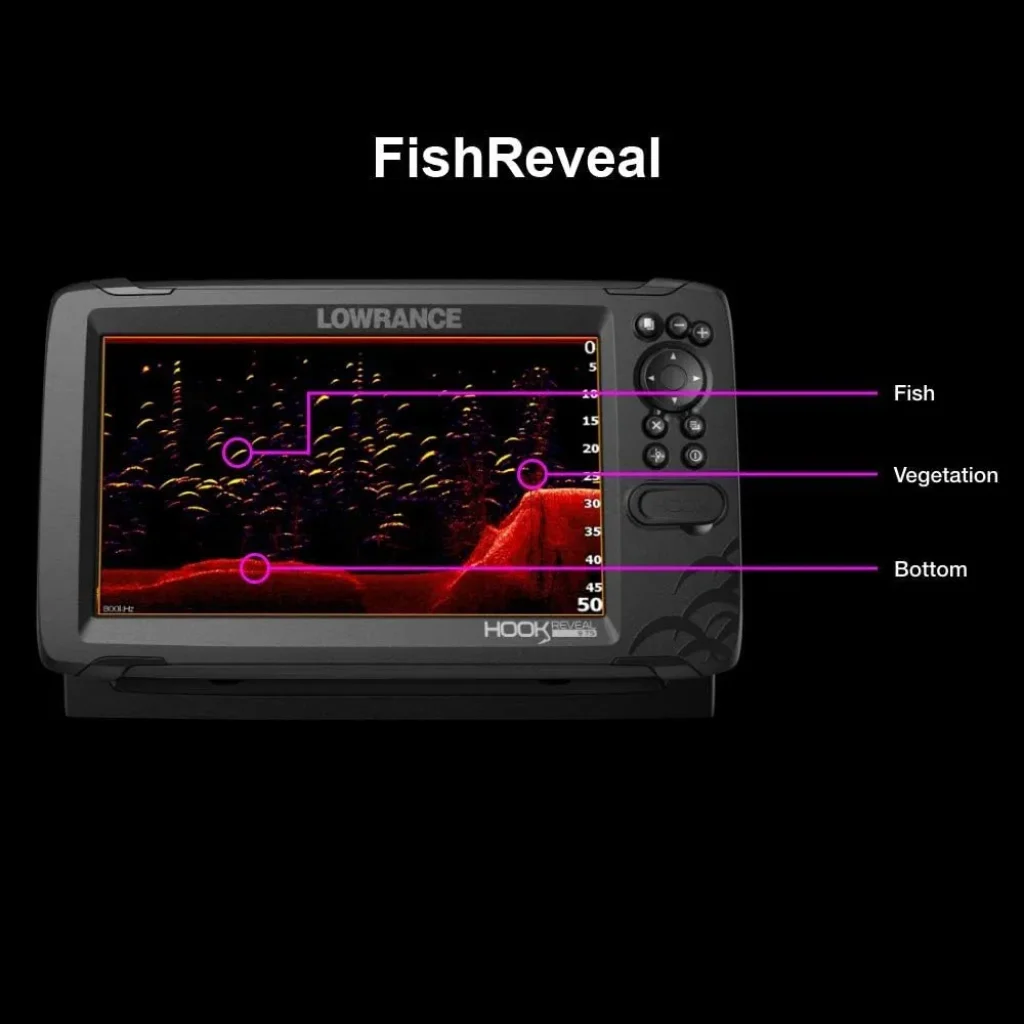
- Fish Arches: Fish appear as distinct arches. The thickness of the arch can indicate the size of the fish.
- Plants or Debris: Plants or stationary objects appear as continuous lines or blobs rather than arches. Learning to differentiate between these is essential for accurate readings.
Quick Tip: To make reading easier, practice interpreting fish finder readings in shallow, familiar waters.
2. Depth and Structure Readings
Reading fish finder depth accurately helps you position your bait where the fish are. Most fish finders have a depth indicator on the side of the display, showing water depth in feet or meters.
- Identifying Structures: Structure refers to the underwater landscape (such as rocks, drop-offs, or weed beds). Structure often appears as solid or textured areas on your display, and fish are often found nearby.
- Fish Finder Chart Reading Tips: Most fish are found near structures, so familiarize yourself with symbols indicating rocks, ledges, and vegetation.
3. Fish Finder Color Meanings
Different colors on your fish finder indicate various types of objects, densities, and depths.
- Interpreting Colors on Fish Finder: For example, blue or black usually indicates water, while yellow, green, or red might indicate different sizes or densities of fish.
- What Do the Colors Mean on a Fish Finder? Each color usually correlates with the strength of the sonar return signal—stronger returns from solid objects appear as bright colors like red or yellow.
Example Color Guide:
- Red or Yellow: Denser objects (larger fish or rocks)
- Green: Less dense objects (plants or small fish)
- Blue or Black: Open water or soft-bottom areas
4. Sonar Frequency and Sensitivity Settings
Most fish finders allow you to adjust sonar sensitivity and frequency to improve reading accuracy. High-frequency sonar provides more detail, which is helpful in shallow water, while low-frequency sonar is better for deeper water.
- Best Settings for Reading a Fish Finder: Adjust the frequency depending on your location. In general, 200 kHz is ideal for shallow water, while 50 kHz works well in deeper settings.
Quick Adjustment Tip: Increase sensitivity in clearer water and reduce it if there’s a lot of debris.
How to Identify Fish Structure on a Fish Finder
Step-by-Step Guide: Start by identifying solid structures and gradually work on recognizing subtler textures that could indicate plant life.
How to Read Fish Finder Screen Symbols
- Fish Symbols: Use these if you’re not comfortable interpreting arches, as many fish finders allow you to turn on “fish symbols” to simplify the display.
- Adjusting Settings: Toggle between fish symbols and arches based on preference. Fish symbols are easier for beginners, but arches provide more accuracy.
Lowrance Fish Finder Reading Tips: Many Lowrance models have customizable settings to adjust display preferences, so try experimenting to see which you find easiest.
Identifying Fish vs. Plants and Debris
- Plants and Weeds: Usually appear as vertical, continuous lines.
- Fish Arches: Appear as small, distinct arches, with thickness and length indicating size.
Quick Tip: In weedy areas, increase the sensitivity to highlight fish hiding within the vegetation.
Common Fish Finder Settings to Adjust
Getting the best results from your fish finder involves adjusting some key settings based on your fishing conditions.
1. Sensitivity
Low Sensitivity: Good for open water with minimal debris.
High Sensitivity: Ideal for spotting fish in murky or vegetation-filled waters.
2. Chart Speed
Adjusting chart speed changes how quickly the display refreshes. Higher speeds show more detail, but slower speeds may make identifying individual fish easier.
Best Speed for Clear Readings: Match chart speed with boat speed for clearer readings.
3. Zoom
Zooming in can help you spot fish close to the bottom or distinguish them from plants.
Using Zoom on a Fish Finder: Use zoom to focus on specific depths or structures, especially in deep waters.
Beginner Fish Finder Tutorial: Step-by-Step Guide to Using Your Fish Finder
Here’s a step-by-step guide to help beginners get the most from their fish finder.
1. Power Up: Turn on the fish finder and let it calibrate.
2. Choose the Right Frequency: For shallow waters, choose a higher frequency (200 kHz); for deep water, go with a lower frequency (50 kHz).
3. Adjust Sensitivity: Start with a medium sensitivity and increase or decrease depending on clarity.
4. Look for Fish Arches and Symbols: Identify fish by looking for arches or use symbols if available.
5. Check for Structures: Look for rocks, ledges, or weeds where fish are likely to hide.
6. Experiment with Colors and Contrast: Adjust colors based on what’s easiest for you to interpret.
Best Settings for Reading a Fish Finder: Experiment with sensitivity, frequency, and color palettes to find what works best for your specific environment.
Conclusion
Reading a fish finder effectively takes practice, but with a few adjustments and some patience, you’ll soon understand how to interpret the sonar readings, colors, and symbols. Start by familiarizing yourself with fish arches, colors, and the depth scale, then experiment with settings to find what works best for your fishing environment.
Q: What Do the Colors Mean on a Fish Finder?
A: Colors help differentiate between objects of various densities. Bright colors (red or yellow) represent denser objects, while blue or black indicate water or softer surfaces.
Q: How Can I Tell Fish From Plants on a Fish Finder?
A: Fish appear as arches, while plants or stationary objects usually appear as continuous shapes or lines. Using higher sensitivity can help distinguish fish from plants.
Q: How Often Should I Adjust Fish Finder Settings?
A: Regularly adjust settings based on changing water conditions, depth, and clarity. Experimenting with settings will help you become more comfortable with interpreting readings.
Q: What’s the Best Frequency for Fish Finders?
A: For shallow water, use high-frequency sonar (around 200 kHz). For deeper water, lower frequencies (50 kHz) offer better performance.